How to Start a Profitable Blog
Blogging is a very personal yet public mission.
Huh? You heard me. I have talked to hundreds and hundreds of bloggers and I hear the same story from so many of them.
They wanted a place to share their creativity and passions. Yet, many people do not tell even their closest friends they are starting a blog. After all, so many people have yet to believe that blogging can be a real source of income. I’m here to tell you it absolutely can. No get rich scheme. Just hard work and possibility.
*This post contains affiliate links. If you click and purchase I may receive a commission at no additional cost to you. Sincere thanks for your amazing support.
It can be scary to put yourself out there, in front of millions of possible viewers awaiting connection, praise, criticism, and sometimes crickets.
Starting a Blog/Website
There are like, a million articles on how to start a blog. My hope is that mine will ease the anxiety of starting a blog on the technical side just a bit. Choosing a good blog host really helps. Because we already have so much stress on our plates just taking the risk of putting ourselves and our thoughts out there. And I love to keep costs down. Running a successful blog is a business so there are expenses if you expect to make money. But my goal is to keep those expenses as minimal as possible.
I’m going to break this down into fairly easy to follow steps. Please for the love of your sanity, email me at Deanna@LuckyLoveLife.com if you have any questions about getting started. And if you have technical questions down the road, my hope is that you use the affiliate link included in this post to get BlueHost because their customer service chat line has saved my bacon and my blog on more than one occasion.
If they didn’t totally rock, I wouldn’t waste my time promoting their product cuz I’m kinda blunt that way. I have no problem telling it like it is and if they let me down, I’d drop them like a bag of black licorice..ewe.
So I am going to start with the assumption that you have already picked your niche (what topic you’d like to blog about) and have brainstormed some article ideas and possible blog names. These steps are going to focus more on the technical side.
So without further ado, let’s do this!
Getting Started With a Blog
Choose a platform. It is tempting to run straight for free when starting a blog. After all, many people start a blog because they are strapped for cash, looking for a side income, or want to replace their jobs completely.
But as with anything, too good to be true rings true here. Many free options will NEVER give you the freedom or control to make an adequate income on your blog. Blogger and WordPress.com are not ideal if you want to haul in more than gas money.
Pro Tip: A blog hosted on WordPress.com is a very different thing than a self-hosted blog on WordPress.org. Yes, the names look very similar, but the options and limitations that come with each one are immensely different.
Blogger, WordPress.com, and in some cases Squarespace can limit ad capabilities which are a big deal as your page views increase. These sites are privately owned which means the companies that own them can shut them down with zero notice to you! This would really stink if you are about to launch a product or if you lose all of your writing.
If you want your site to make money or think you are going to stick with blogging then I recommend starting with a self-hosted WordPress.org blog from the get-go. WordPress.org is the standard, as in over 90% of all money making blogs use WordPress.org. The number of tools, themes, add-ons, e-commerce solutions, designs, and marketing software options that work with WordPress.org is endless, allowing you to create a site that looks professional and user-friendly.
The setting up of this platform by itself is free, however, it won’t run without a host which is where step two/three come in.
Pick A Blog Name
Hopefully, you have your names narrowed down. Choose wisely because changing is really not a good option. Stick with .com names and avoid special characters.
But how do you find a good domain name and name for your website?
Well, here’s how I did it:
- I figured out a topic for my blog. In my case, it was positivity and personal development.
- I brainstormed names. After finding the topic I wrote down several names over the course of a few days.
- I discarded a handful of names. Some because they felt too generic and boring to me. Others because they didn’t describe what the website was about that accurately, and more because they were already taken.
In the end, my choice narrowed down to the one I found to be simple to remember, catchy and circled around the topics I would be writing about.
Your domain name is what you type into the address bar to go to a website. In my case, it’s www.LuckyLoveLife.com. I purchased mine through GoDaddy and linked it to BlueHost after I chose them as my hosting service. More on that below.
You’ll need to register your Domain name. As mentioned above, I used GoDaddy.com. Hover is another good site for this. Typically you can register your name for roughly $10-20/year. This is likely less than you spent on coffee last week. Go for it! Your business can change your life!
BlueHost– The Host with the Most.
This is inevitably one of the most important steps. This is the company that will host your blog.
You want the freedom to run your site as you see fit? Want a site that looks top notch professional? Site security and safety? How about amazing customer support, live chat, and continuing education on how to keep your blog running as smoothly as possible? Yes? Then you definitely want BlueHost.
I investigated and researched nearly every major host on the market. I have read all the articles that both support and refute most of the major players. In the end, the BBB, BlueHost Live Chat, and a few major name bloggers convinced me that BlueHost was my choice, and I haven’t regretted it since.
[bctt tweet=”You want the freedom to run your site as you see fit?” username=””]
When you click on my link, you should arrive at a page that looks like this one!

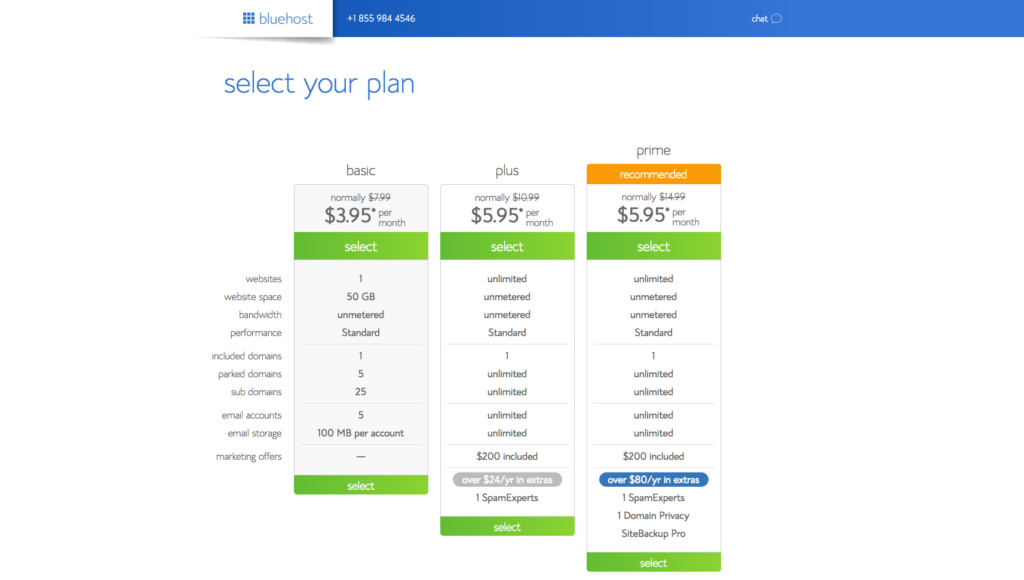
Pick a Plan
You’ll want to click on that big green “get started now” button. Green is good! This will take you to the next page where you select your plan. If you are a new blogger stick with the basic plan. I’ve been blogging a long while and have had zero needs to upgrade. You may get offered some special extras. I clicked no thanks to all of these.
Next, you will be directed to a page that connects your domain name to your host. If you purchased your domain from GoDaddy or Hover you will be using the box on the right.
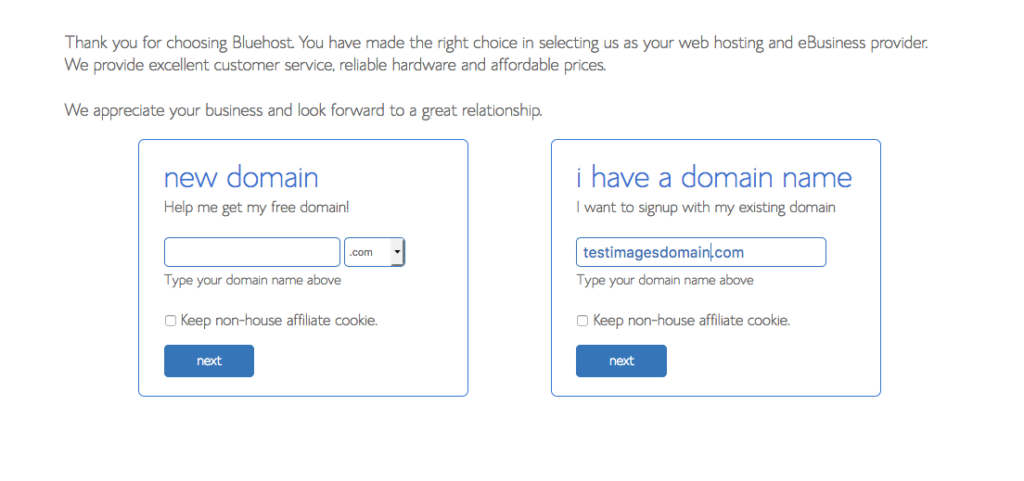
Pro Tip: They really do appreciate your business and look forward to a great relationship. This is very evident in their customer support and their affiliate program.
Enter your domain name in the box on the left You’ll see a box that says Keep Non-house affiliate cookie. I chose to leave mine unchecked. You can google your options and decide but you can always change it later too.
Now you will have to enter all your account/contact information. This step is super-easy.
Pro Tip: If you haven’t already, I’d set up an email that you plan to use just for your blog. Mine is Deanna@LuckyLoveLife.com. I used this email in my account information so I can keep all my business stuff in one place. If not no worries.
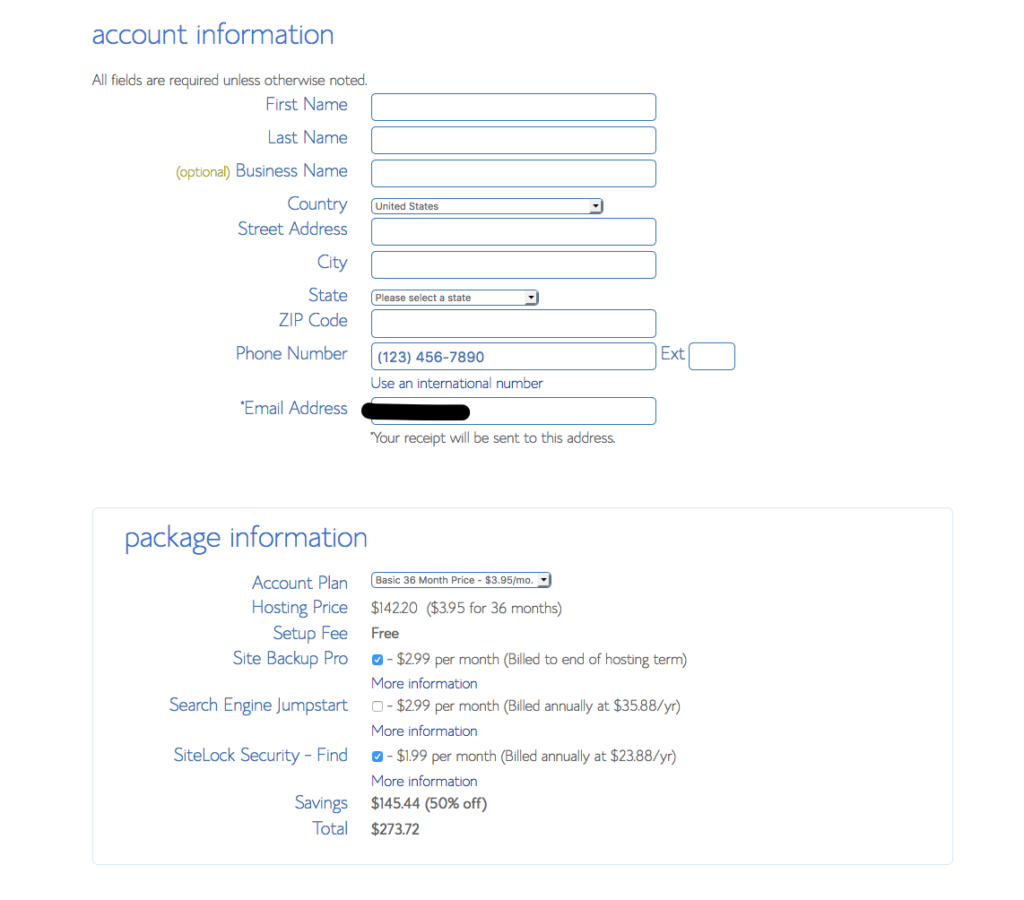
This is where you will select package information. As with all the hosting companies I have come across your best deal is offered if you purchase the three-year deal. If you plan on treating your blog like a real business and have some belief in yourself, this shouldn’t be a big deal. I bought three years when it was $3.95/mo. Grand total was $142 and some change. Wrap that with the domain name and you got yourself a business for about $155.
[bctt tweet=” If you plan on treating your blog like a real business and have some belief in yourself, this shouldn’t be a big deal.” username=””]
Hosting That Saves You Money
Plus you won’t have to worry about these payments again for a long time. Again, I did not use the Site BackupPro or other options that were additional costs. You can get some of these features for free in other places. Just Click account plan and select the basic 36 months or whatever contract you are comfortable signing up for.
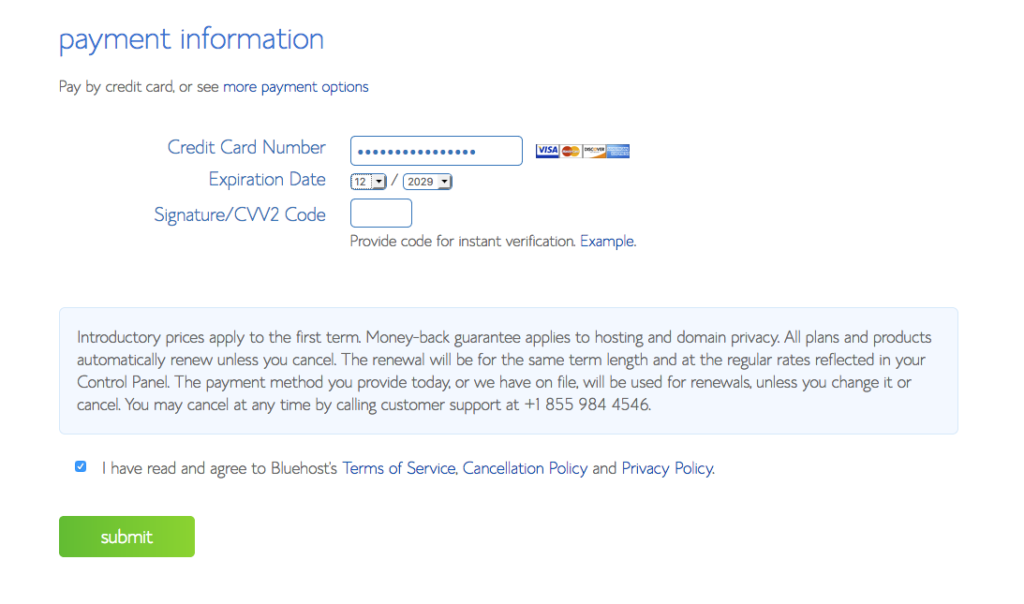
Then you will enter all your billing information. Easy so far right? As it keeps offering you paid upgrades, just keep clicking no thanks.

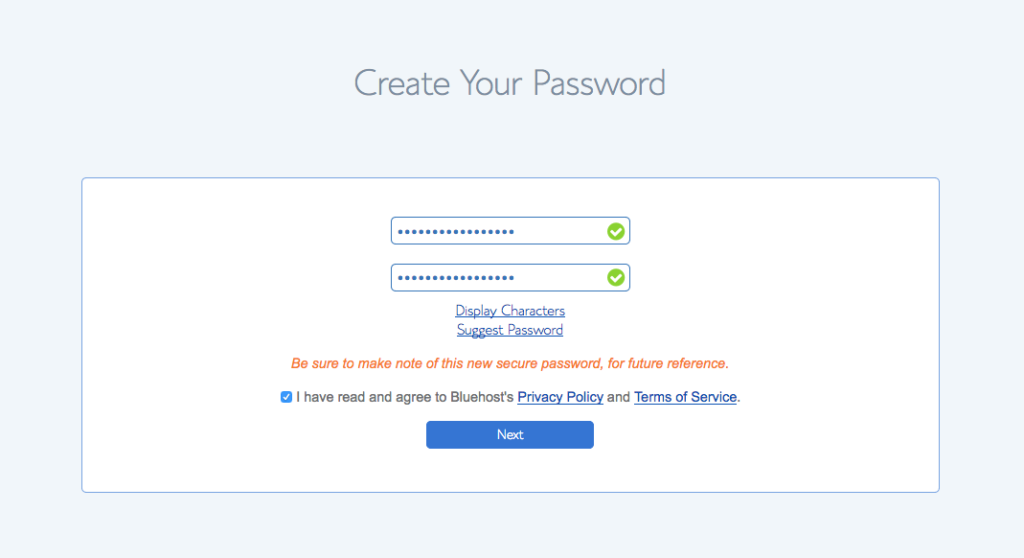
Now you’ll have to choose a password for your new account. Make absolutely sure this is one you can remember and one that is rock solid. You might not be making money yet but in six months you will want your site protected.
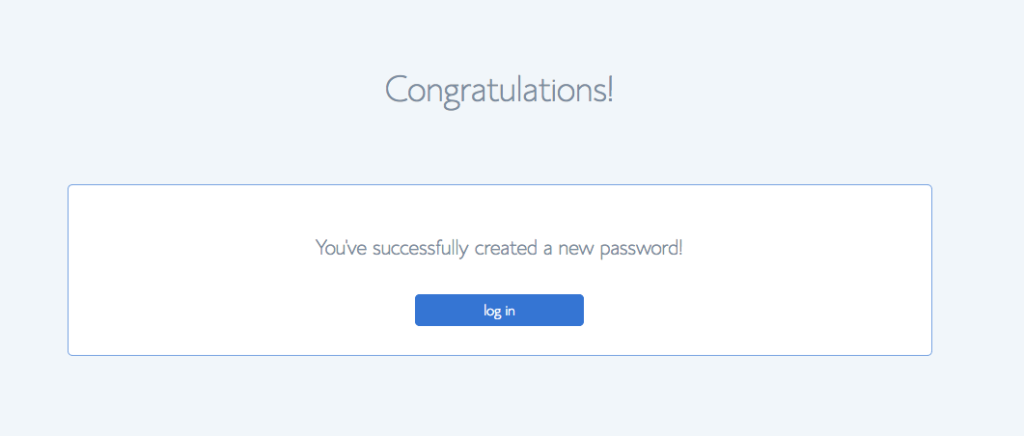
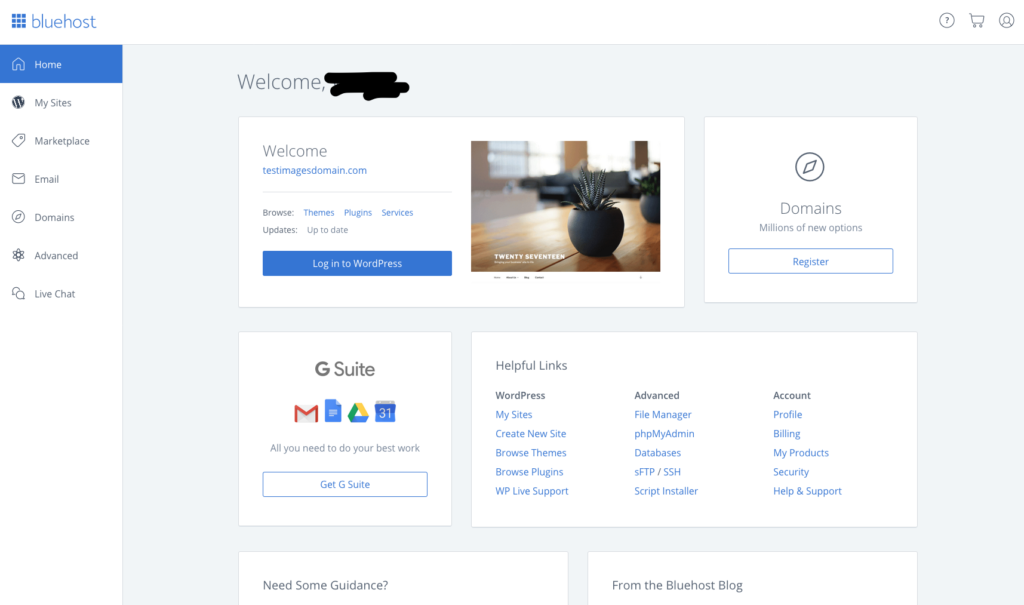
Almost there. Now you are going to log into your site for the first time. The page should look like this.
New Beginnings for BlueHost
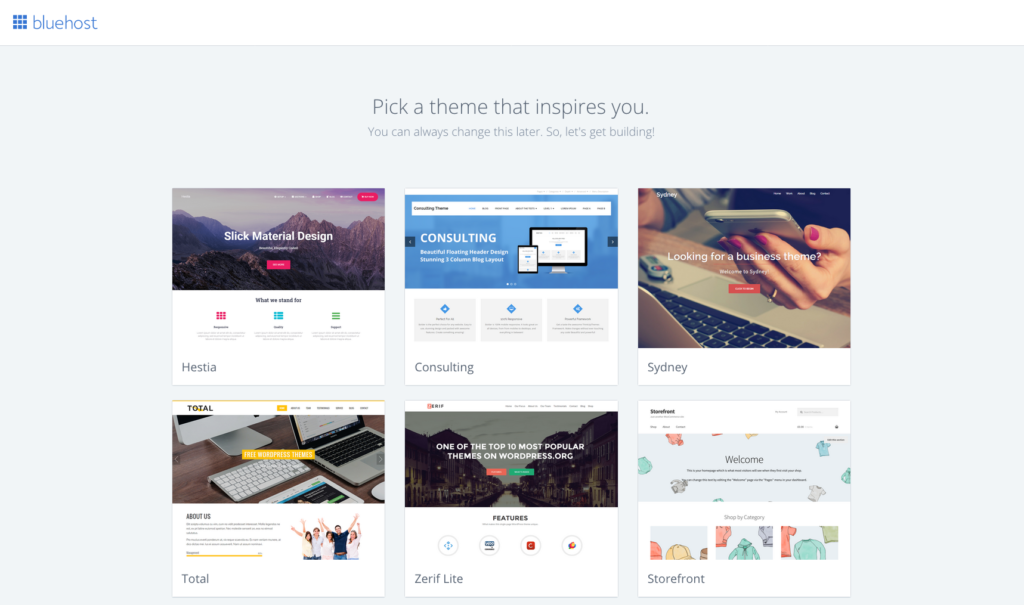
This is where things will start to look a little different from the older tutorials you may have come across. BlueHost just updated their tutorials to make starting a website even easier. You now have the option to choose your theme right here.
Just pick one you kind of like and don’t sweat it. This is something you will change after you play around in WordPress a little bit.
Pro Tip: When you do settle on a theme, make sure it’s mobile responsive, and language translating if those are things you wish to have. I started with a great theme called Tempera but have since switched to Divi.
After you choose a theme, you’ll see this little blue button below. Click it and you’ll be redirected to the backend of your new website. You will spend a lot of time in this area.
TaDa!
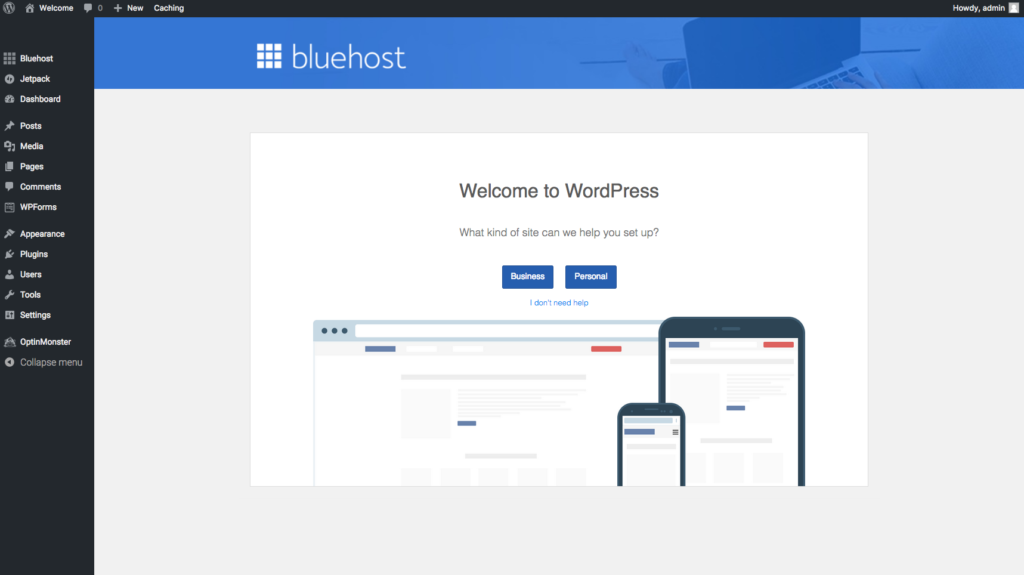
This is the bread and butter of your site. Here is where you will compose your amazing posts, create pages for your site, change the appearance, and ad nifty little plug-ins that make your site do all kinds of neat things.
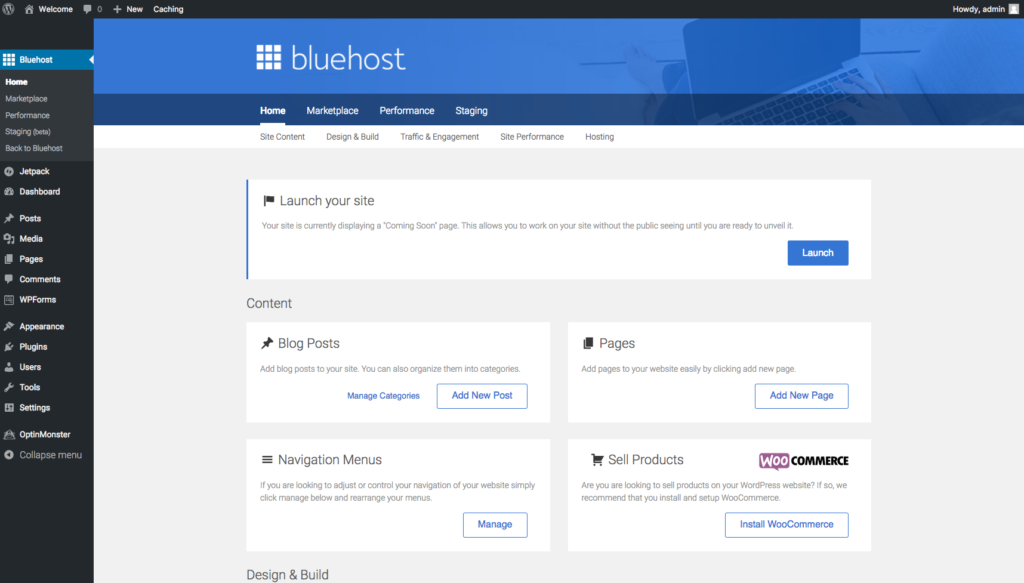
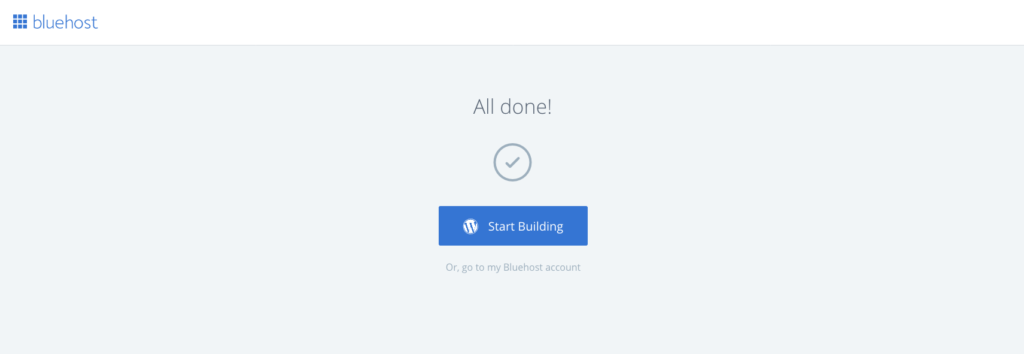
You’re almost there! If you have a welcome post put together click on the Blue Launch button!
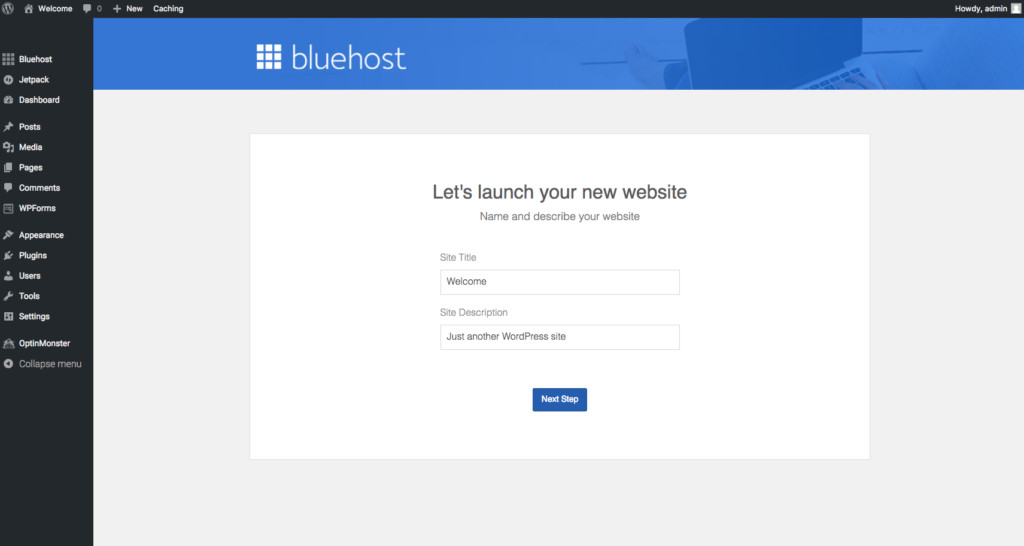
You Have Started Your Blog!
You should come to this page. If at any point you get stuck please email or send me a tweet on Twitter. I can help walk you through it. I changed the Welcome to my Website name. In the description box, I put in a few keywords to help people know what my site is about.
This is where WordPress, your platform, and BlueHost, the host who will store all of your website goodies merge. The is a match made in heaven and BlueHost is one of the few hosting companies that is recommended by WordPress.org themselves 🙂
WordPress might seem a little strange to navigate at first but give it a few days and you’ll be feeling all warm and cozy.
If your domain name is registered with a third party like Hover or GoDaddy, you need to log into that account and point your domain name to your Bluehost account. That process takes about 60 seconds.
Here are the nameservers to enter:
Nameserver 1: ns1.bluehost.com
Nameserver 2: ns2.bluehost.com
You’ll want to do this as soon as you have linked your BlueHost and WordPress.org account because it can take up to 24 hours to take effect. This is necessary so that when people type in your domain name, they are taken to your page and not to the company you purchased your domain from.
Even though I didn’t take my site live for over a week, it was still nice to know it was working properly first.
What Now? Start Your Blog/Website Off Right
To break down the complications of starting a blog I highly recommend reading this post about how I broke all the tasks of starting a blog into “courses”. I treat blogging like college in a way. The guys over at WPBeginner were lifesavers for me and I can’t recommend them highly enough. Melyssa Griffin and Abby Lawson were also a major help. This article can help you link Google analytics to your WordPress site in no time flat. You’ll need those stats down the road.
There are a few plugins you’ll want to activate right away. You’ll see the plugins option on the left side of your WordPress.org dashboard about half the way down. Click it and you’ll want to install the following:
- Akismet. For site safety and spam.
- Updraft. Use the free version. This will back up your site. I choose weekly. You can choose monthly to start or daily if you plan to publish like a powerhouse. This will give you a backup version of your blog in case anything ever goes wrong. As you go pro, you’ll likely buy a TB hard drive and do it yourself.
- Yoast SEO. This is a must unless you are a keyword and typing pro. This helps you to optimize your writing for search engines.
- Better Click to Tweet. This is the plugin many people use to add tweets to their posts for easier sharing.
Pro Tip: There are tons of plugins that have many different functions. Be careful what you choose because plugins can slow down your site. When you start collecting a backlog of posts or have many photos uploaded you will want to consider WP3 Cache. This plugin will make your site run faster. Jetpack and similar “group plugin packs” can really slow things down if you aren’t careful.
Also if your site ever starts acting funny a day or so after installing a plugin, try uninstalling it and see if that fixes the problem. Some plugins have bugs that cause hiccups.
Resources for a Money Making Blog
Browser to Buyer is a go-to book source for so many blogging questions across the board. Honestly, I think it’s the industry standard.
You’ll want to start an email list as soon as possible. ConvertKit, in my opinion, is the only option. This is definitely an expense but if you are taking your business seriously, it should be the only choice. The options are so versatile and the platform is built by a blogger who knows his stuff and loves his people. This starts out at $29/mo and climbs after your first 2000 subscribers. Their new visual automations make everything easier for the newbie.
Pinterest. The best free traffic builder in the world! I use Pinteresting Strategies method for traffic and this woman stays on top of Pinterest and its changes! Best money I’ve spent outside of hosting and email marketing.
Canva. A free way to make images and pins for your website or Pinterest account. This site is awesome and super easy to use!
You got this. Now go make your dreams come true!
xoxo-Deanna